

RTAWD Differential Rebuilds Part # 1
Posted by AKDBuilt Performance on May 12th 2021
Part 1 CRV Differential Disassembly!
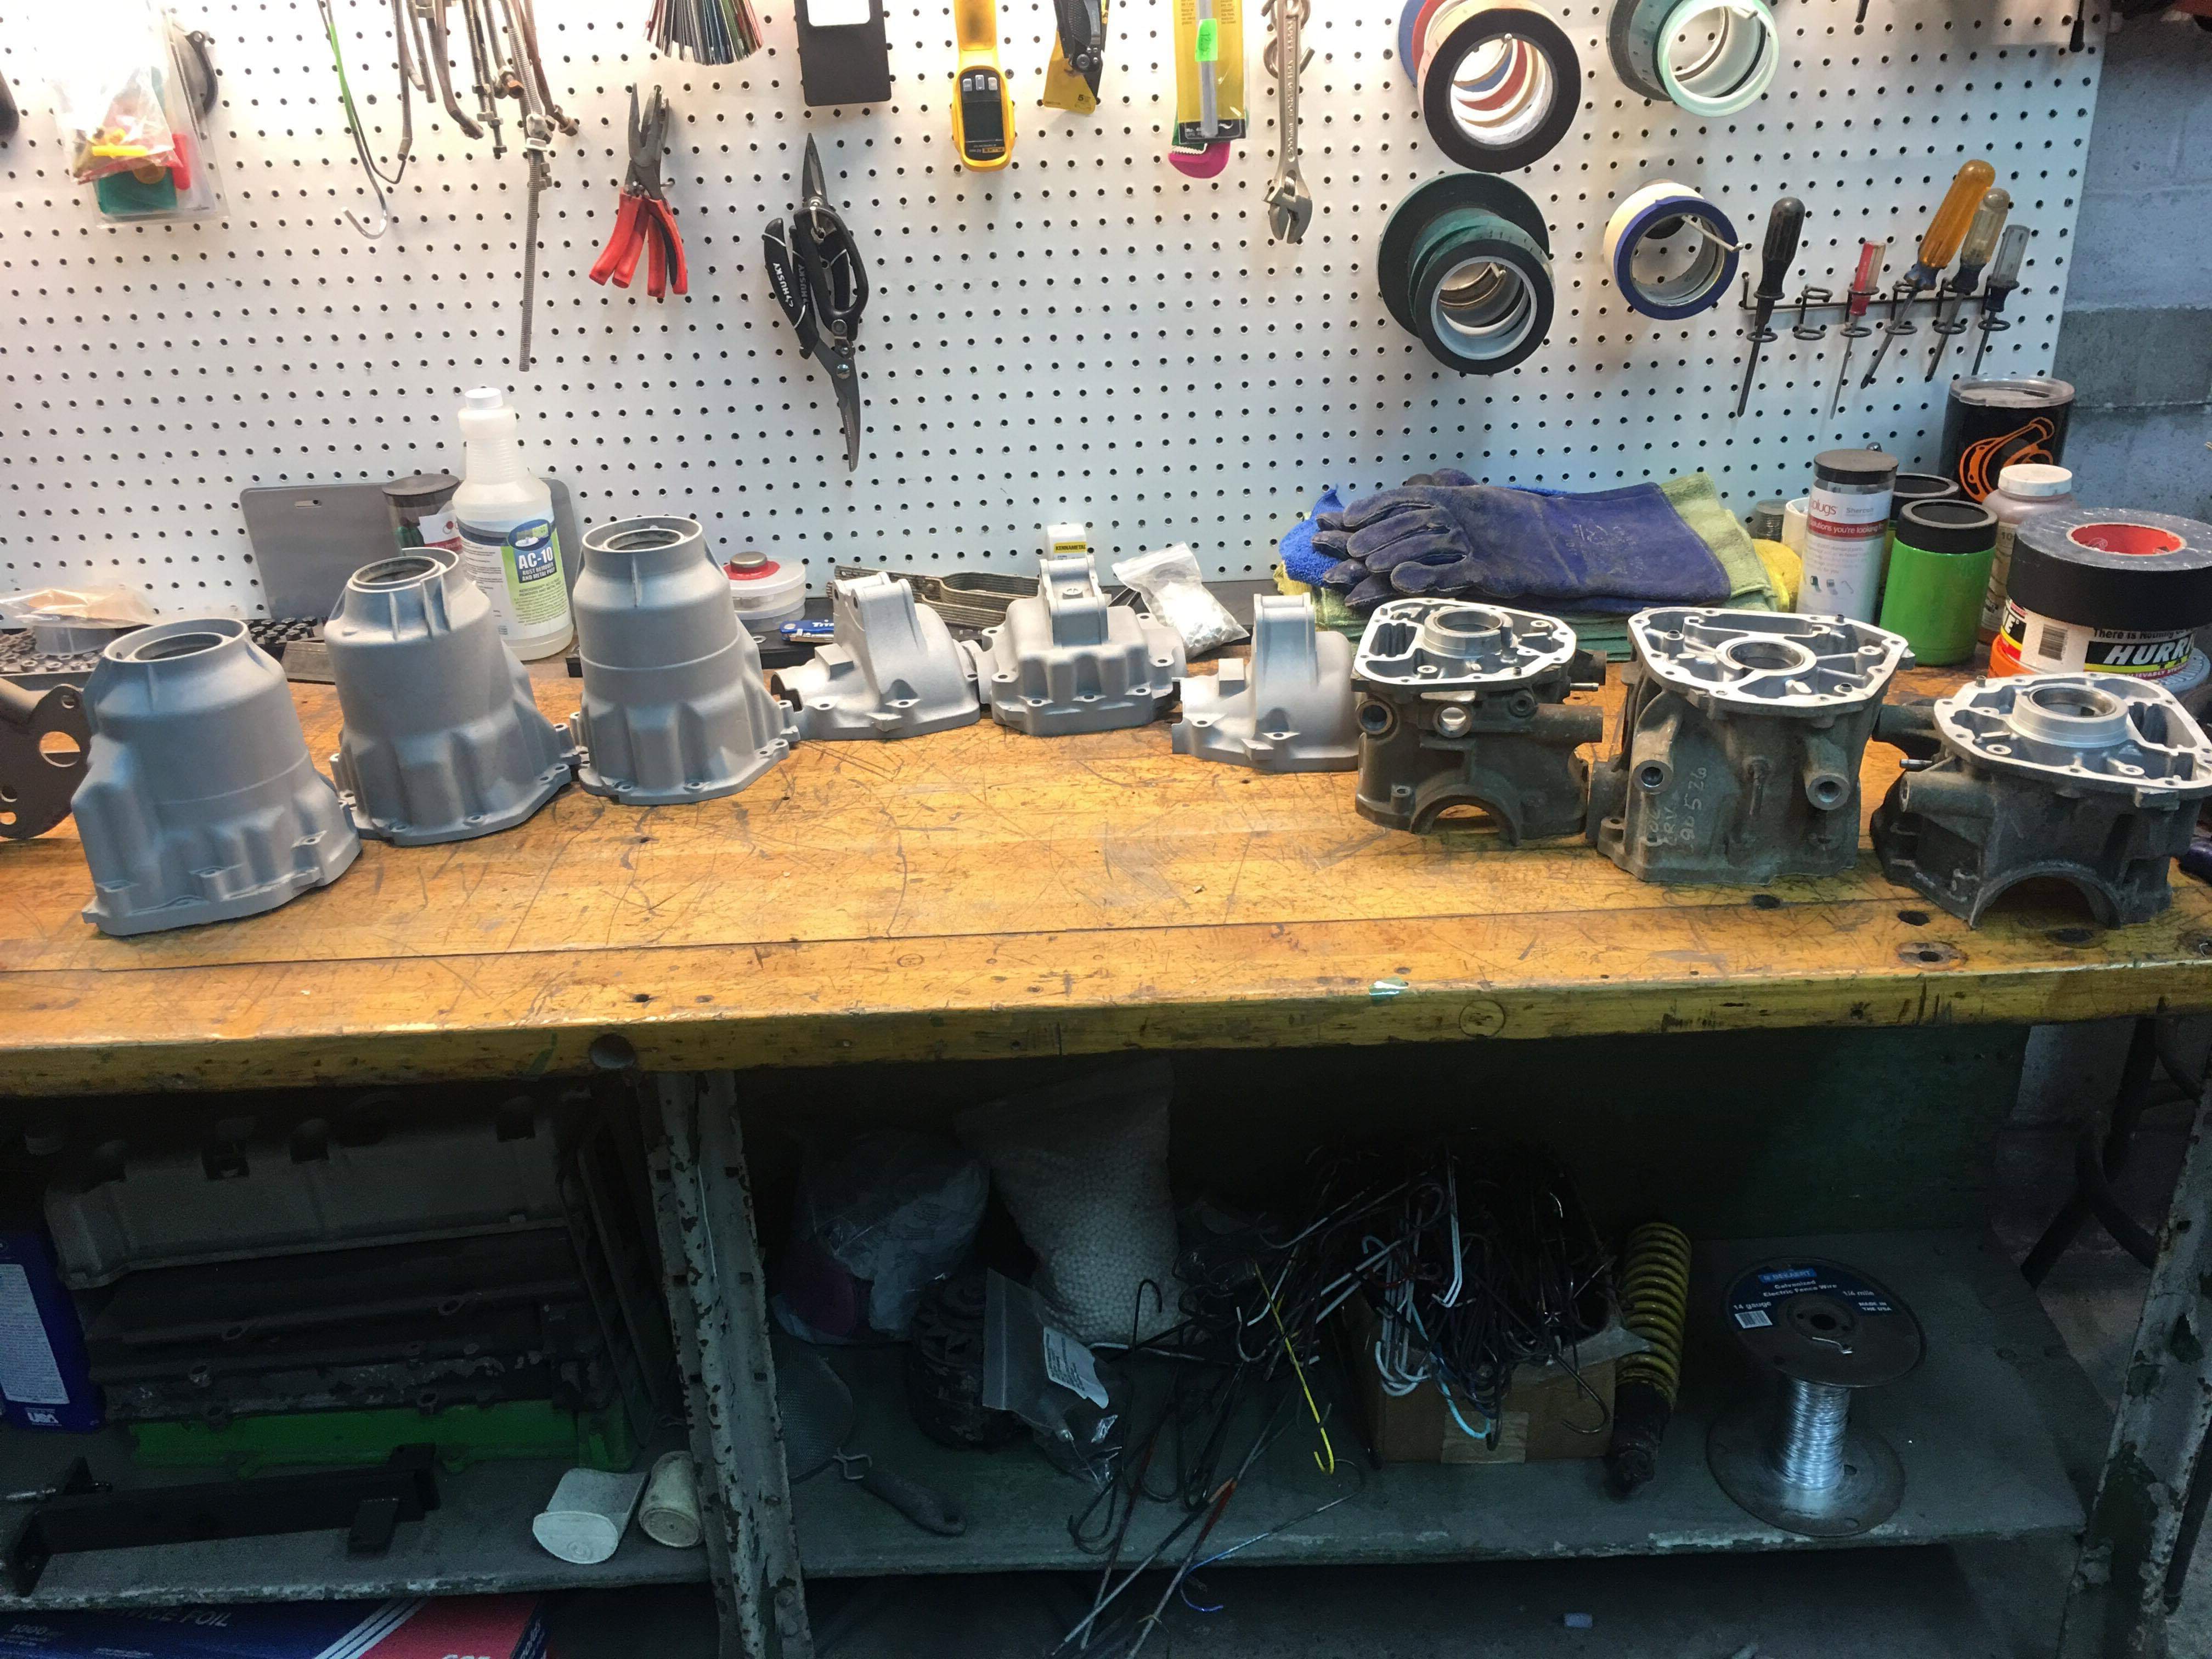
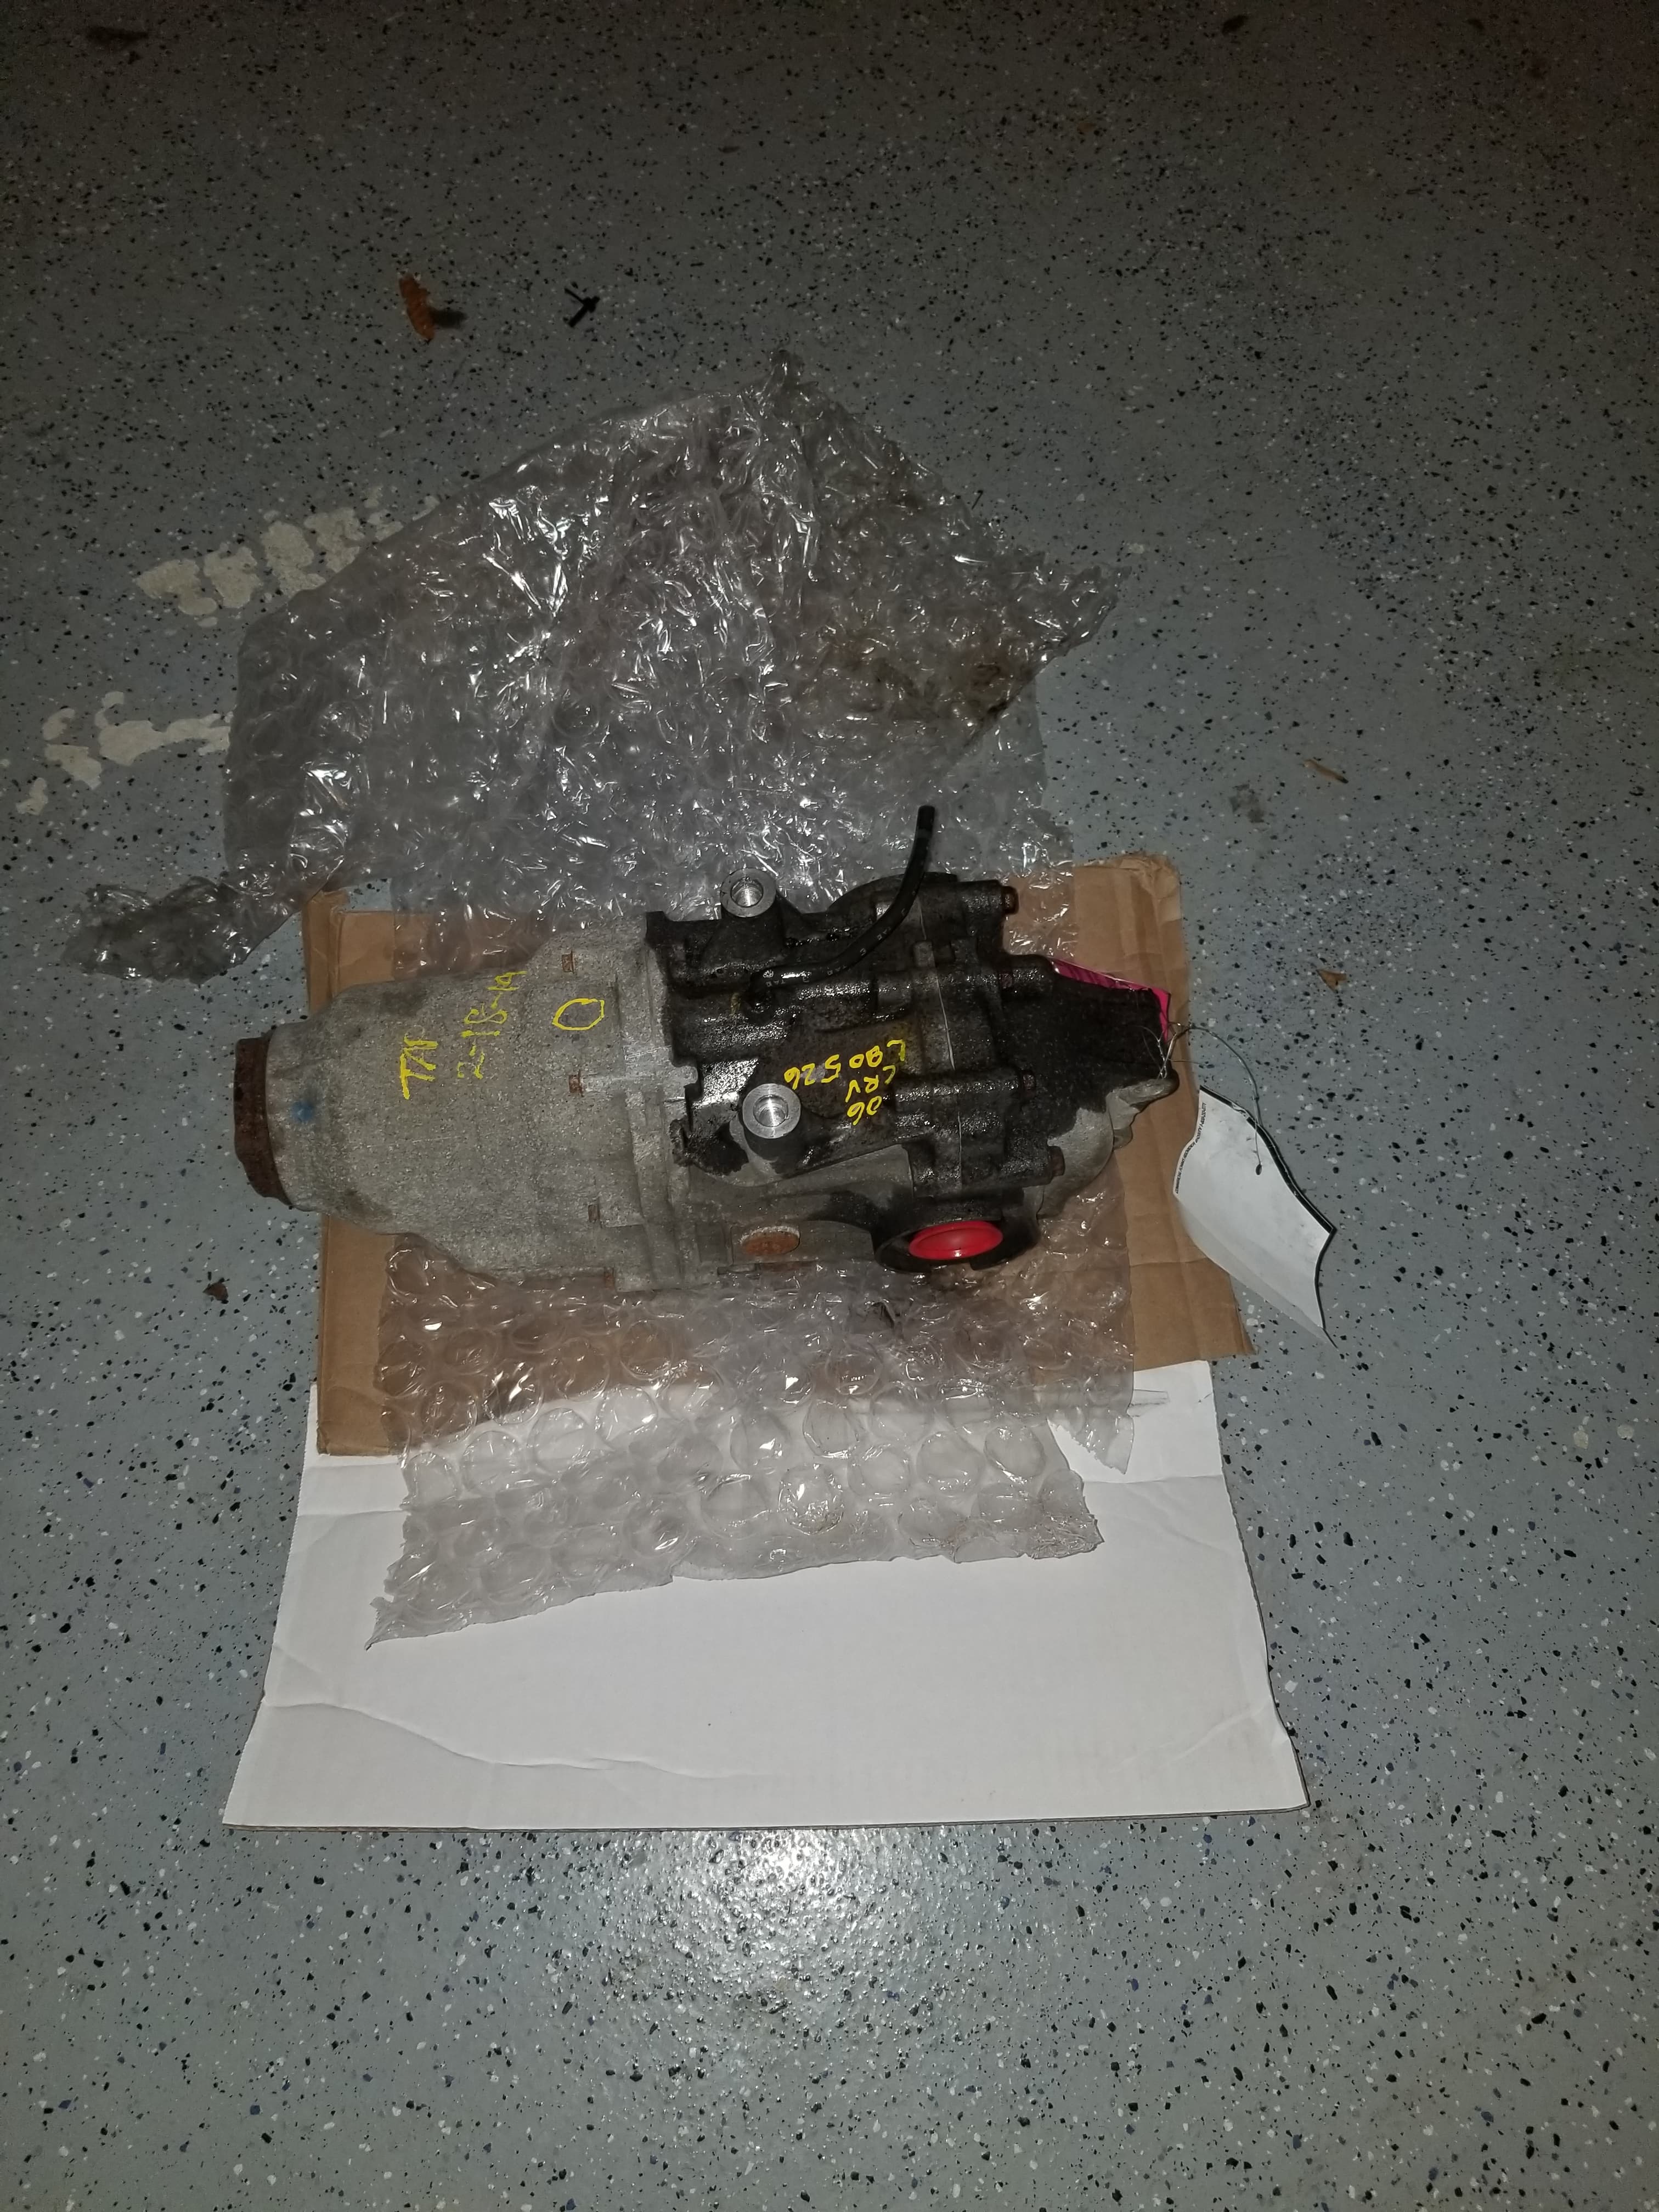
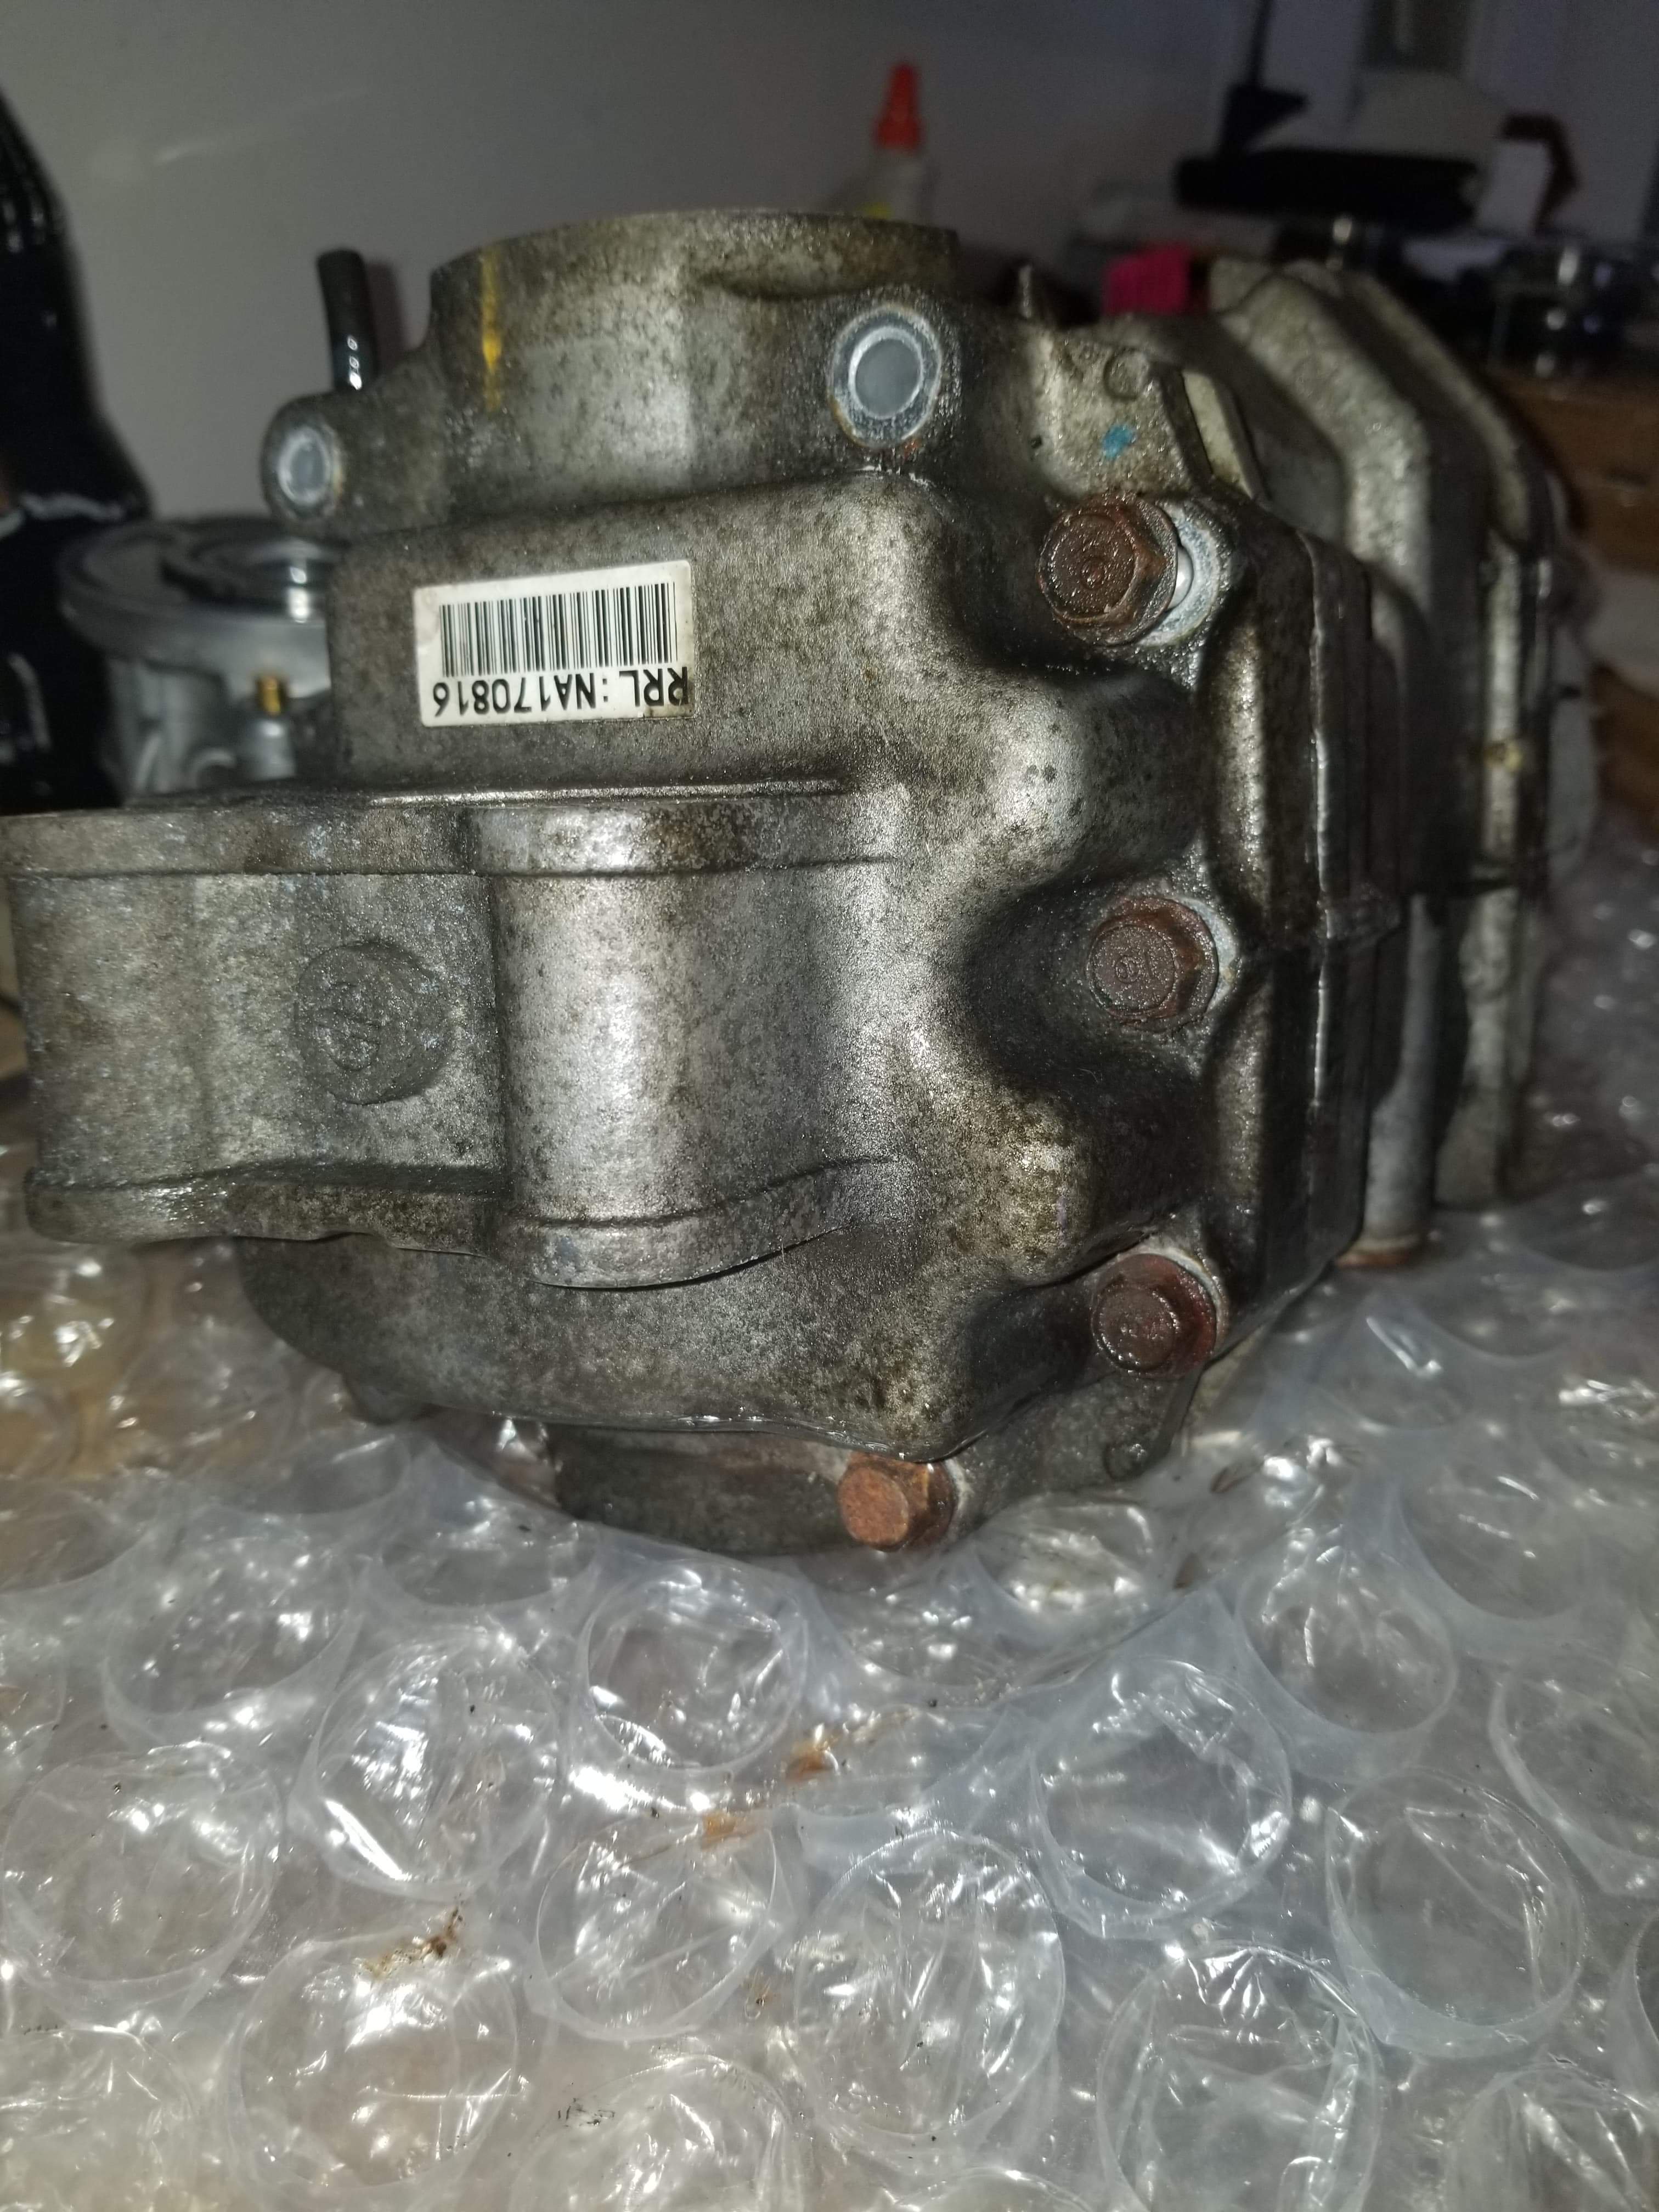
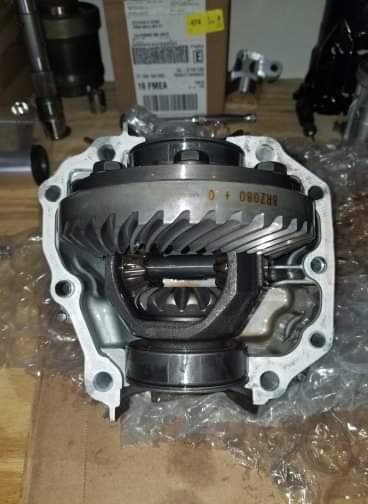
So to Kick this off. We are working on a 2006 CRV Differential for our customers build! This differential will receive our Dual Pump Quick Spool Kit installation, Racing Diffs Molybdenum Ceramic Clutch Upgrade, Thermal Switch Delete Plug and a full rebuild with OEM Honda Bearings, Seals, Gaskets, Oil Seals and completely cleaned inside and out before assembly. This will be of many new differential builds from a service we now offer here at Automotive Koncepts & Designs Inc. The service allows for many upgrades from our inventory and Partner/ Manufacturers and features the best components and innovations from our collaborations. In this build segment today we will be removing the Differential from the Carrier and discussing the process of the build.2006 CRV RT-AWD Differential with RAMP Assembly.
For this operation we will require a few tools but nothing out of the ordinary! First you will need a long “Strait Blade Screw Driver” a 3/8ths” Drive Ratchet, 3/8ths” driver 12MM 6pt Socket, a bucket to drain your Dual Pump Fluid into, a tray to capture spills and a bag to catalog your hardware removed from the differential. Id advise also carrying a 45 degree scribe and definitely have gloves because this can get really messy!
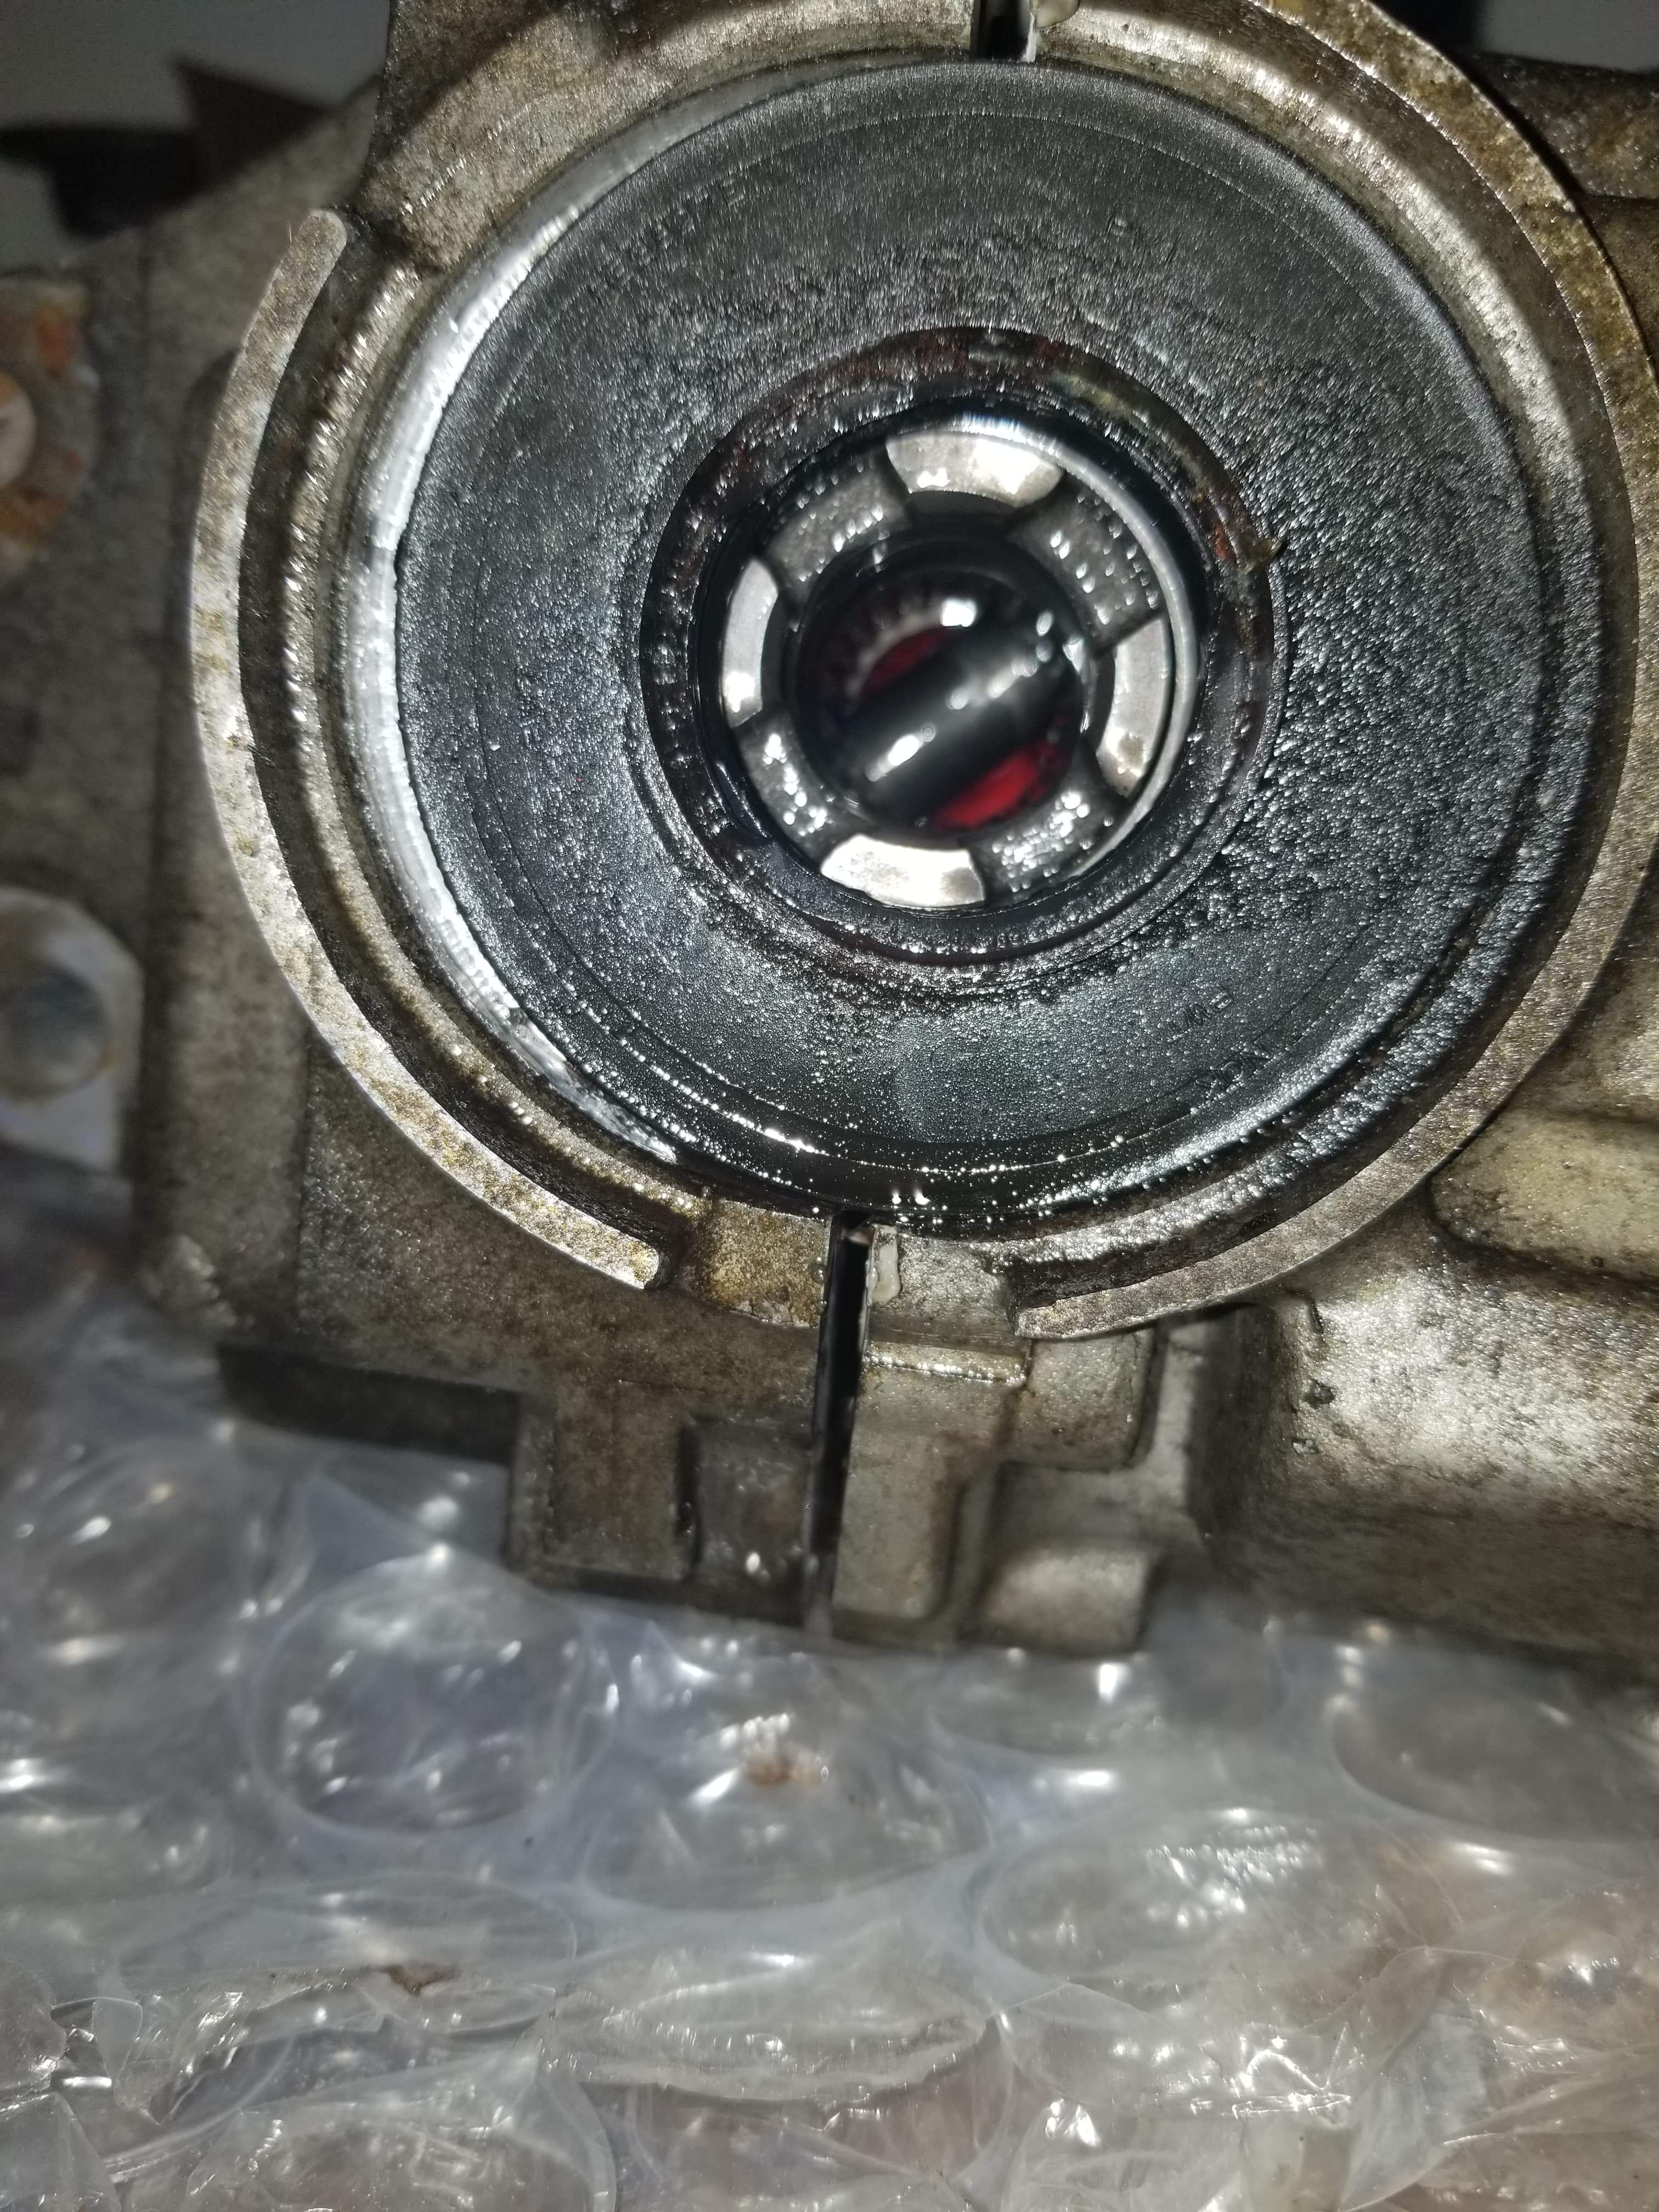
To start lets drain your differential! Remove the Drain Plug and Fill Plug from the side of the Differential. The Drain and Fill ports are 3/8ths” drive ratchet hex so use the ratchet with a 3″ extension so you have room for clearance to turn the ratchet. Turn the ratchet counter-clockwise to remove the fill and drain ports from the differential and prepare your bucket and spill tray to receive Dual Pump Fluid!
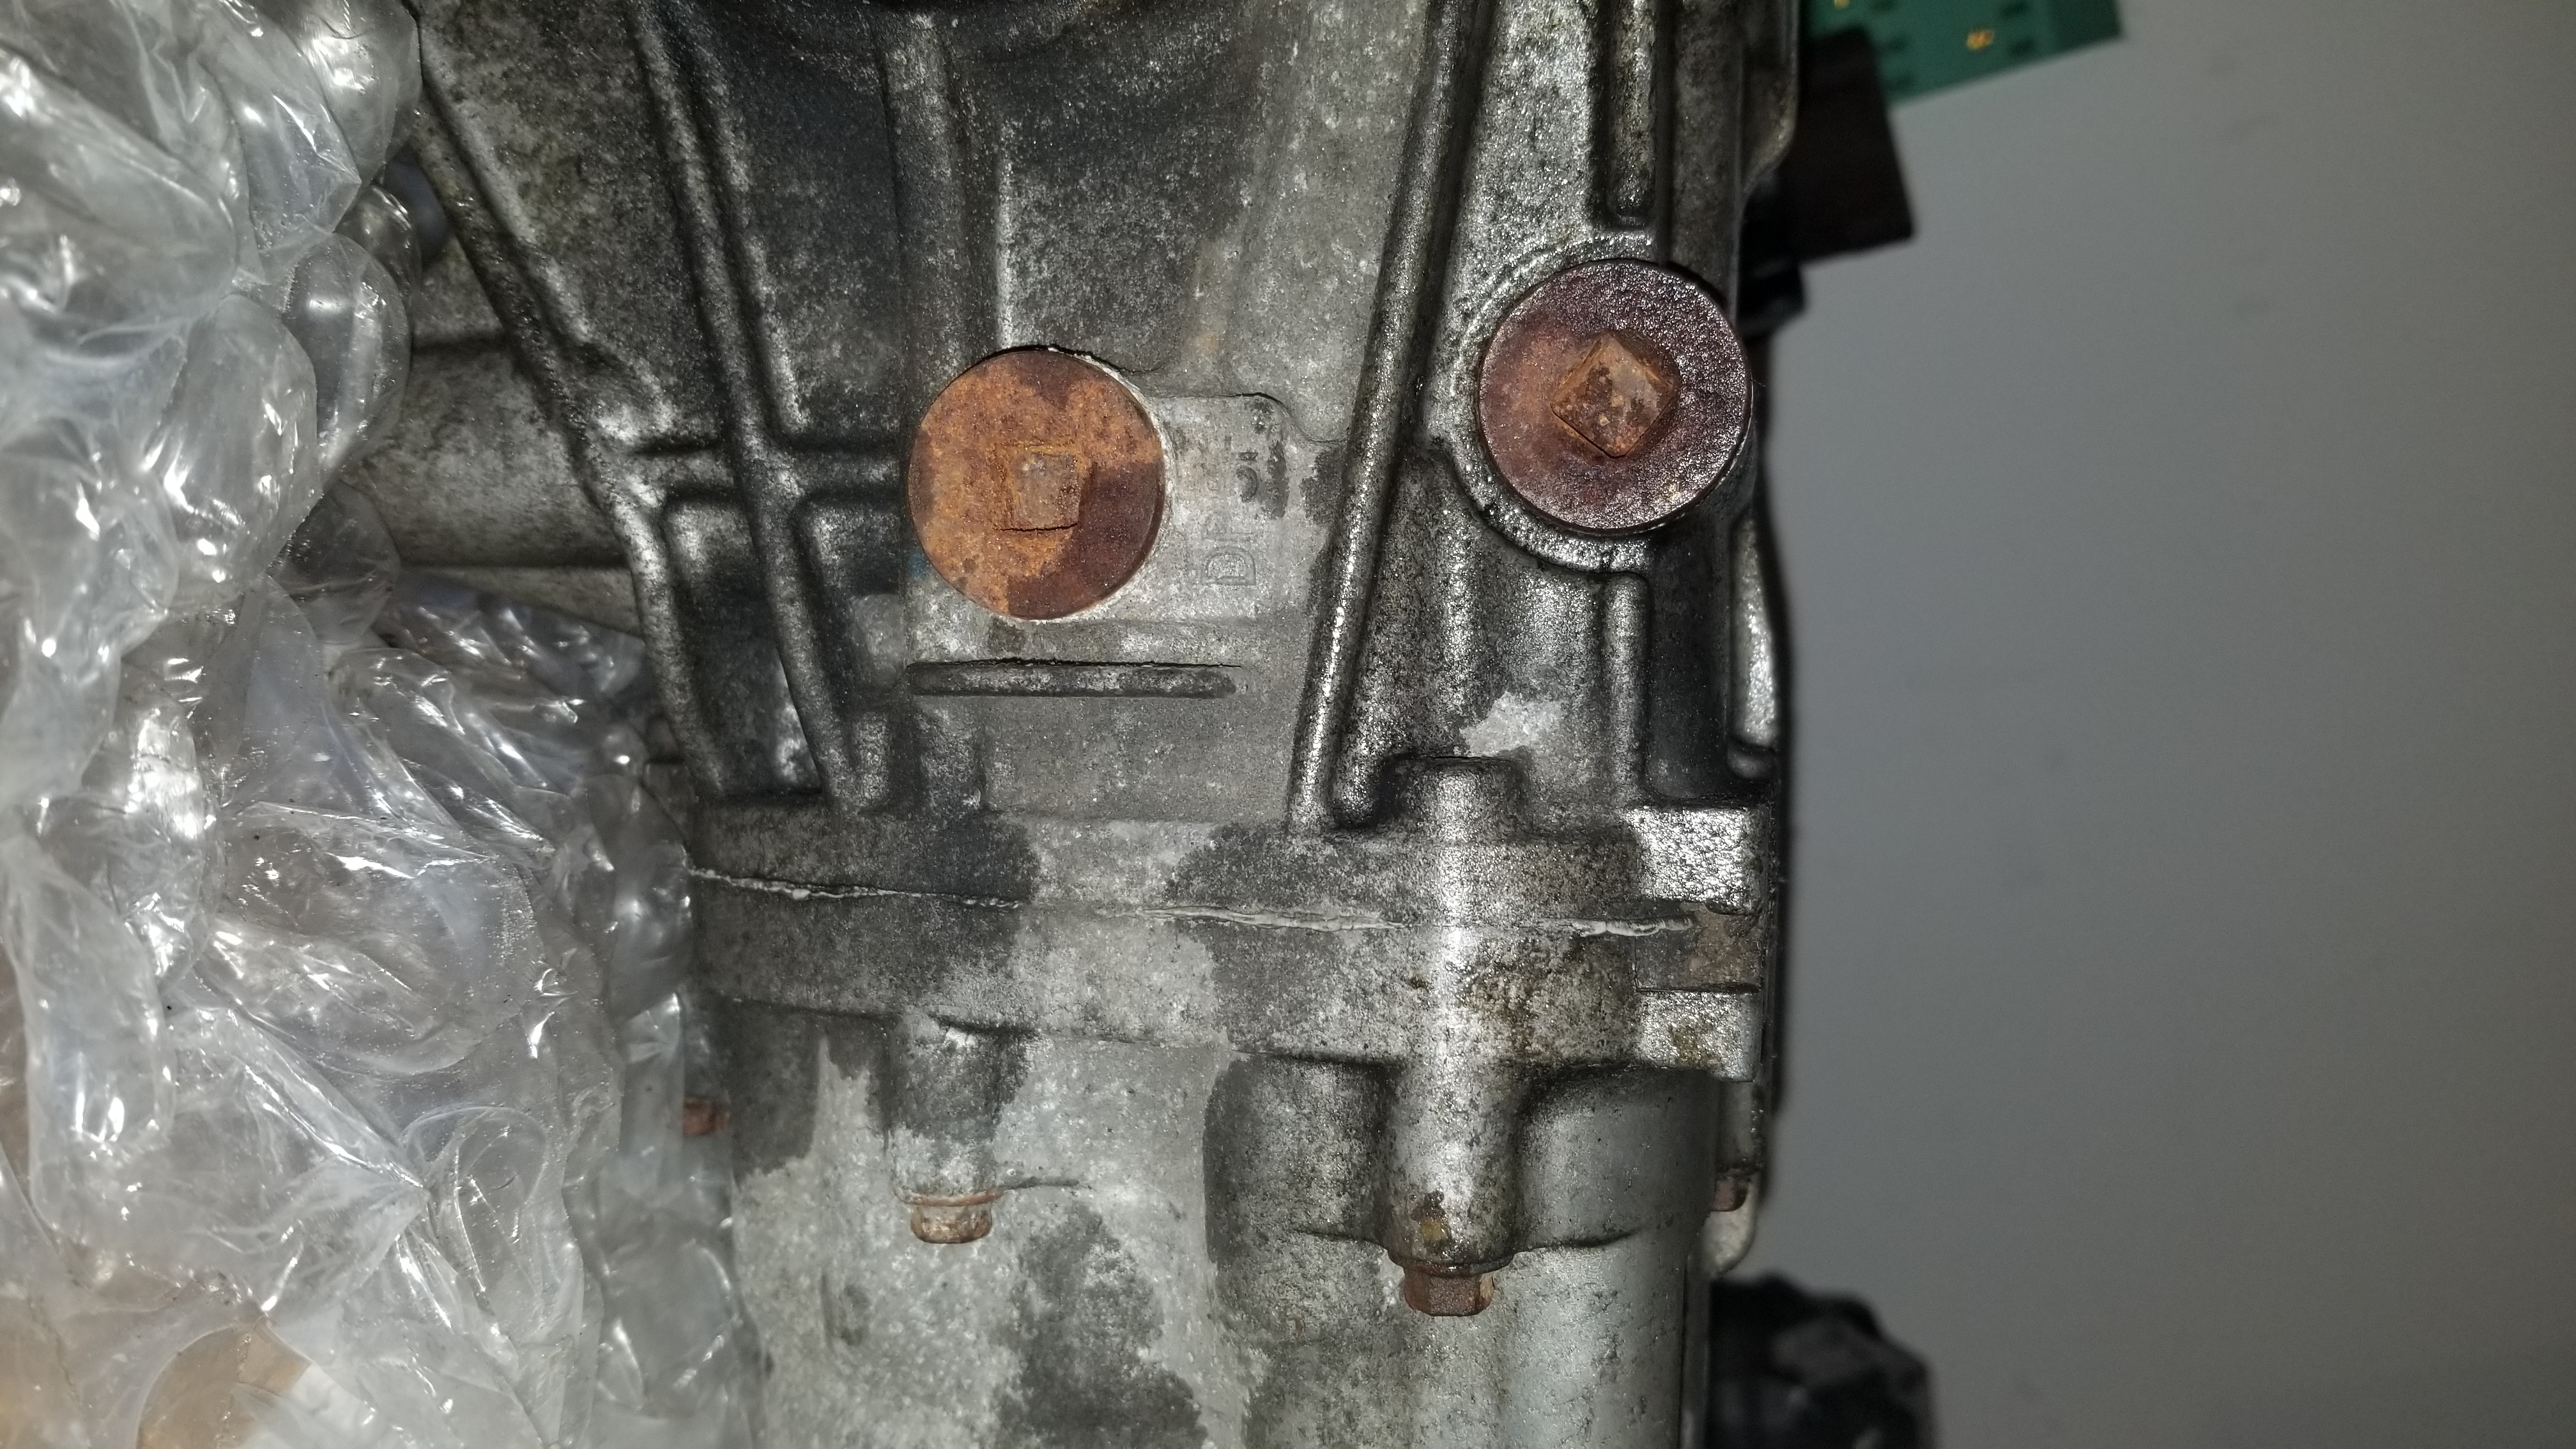
Once the ports have been removed turn the differential onto its side and drain until empty. Next task to remove the differential from the carrier is to remove the differential tail cover bolts. For this you will need the 3/8ths” drive Ratchet and the 12mm, 6pt, 3/8ths” drive socket and you will break the TQ on the differential cover bolts.
Differential Tail Cover Hardware Removal
Note: The differential cover on the dual pump differential also acts as the differential bearing retainer! Exercise caution when removing the hardware as the differential could inadvertently separate once the hardware is removed from the diff cover if not properly sealed.
Repeat the steps of removing the differential tail cover hardware until complete. Store all of your removed hardware in a safe location or in a bag labeled by where it was removed from and the date removed.
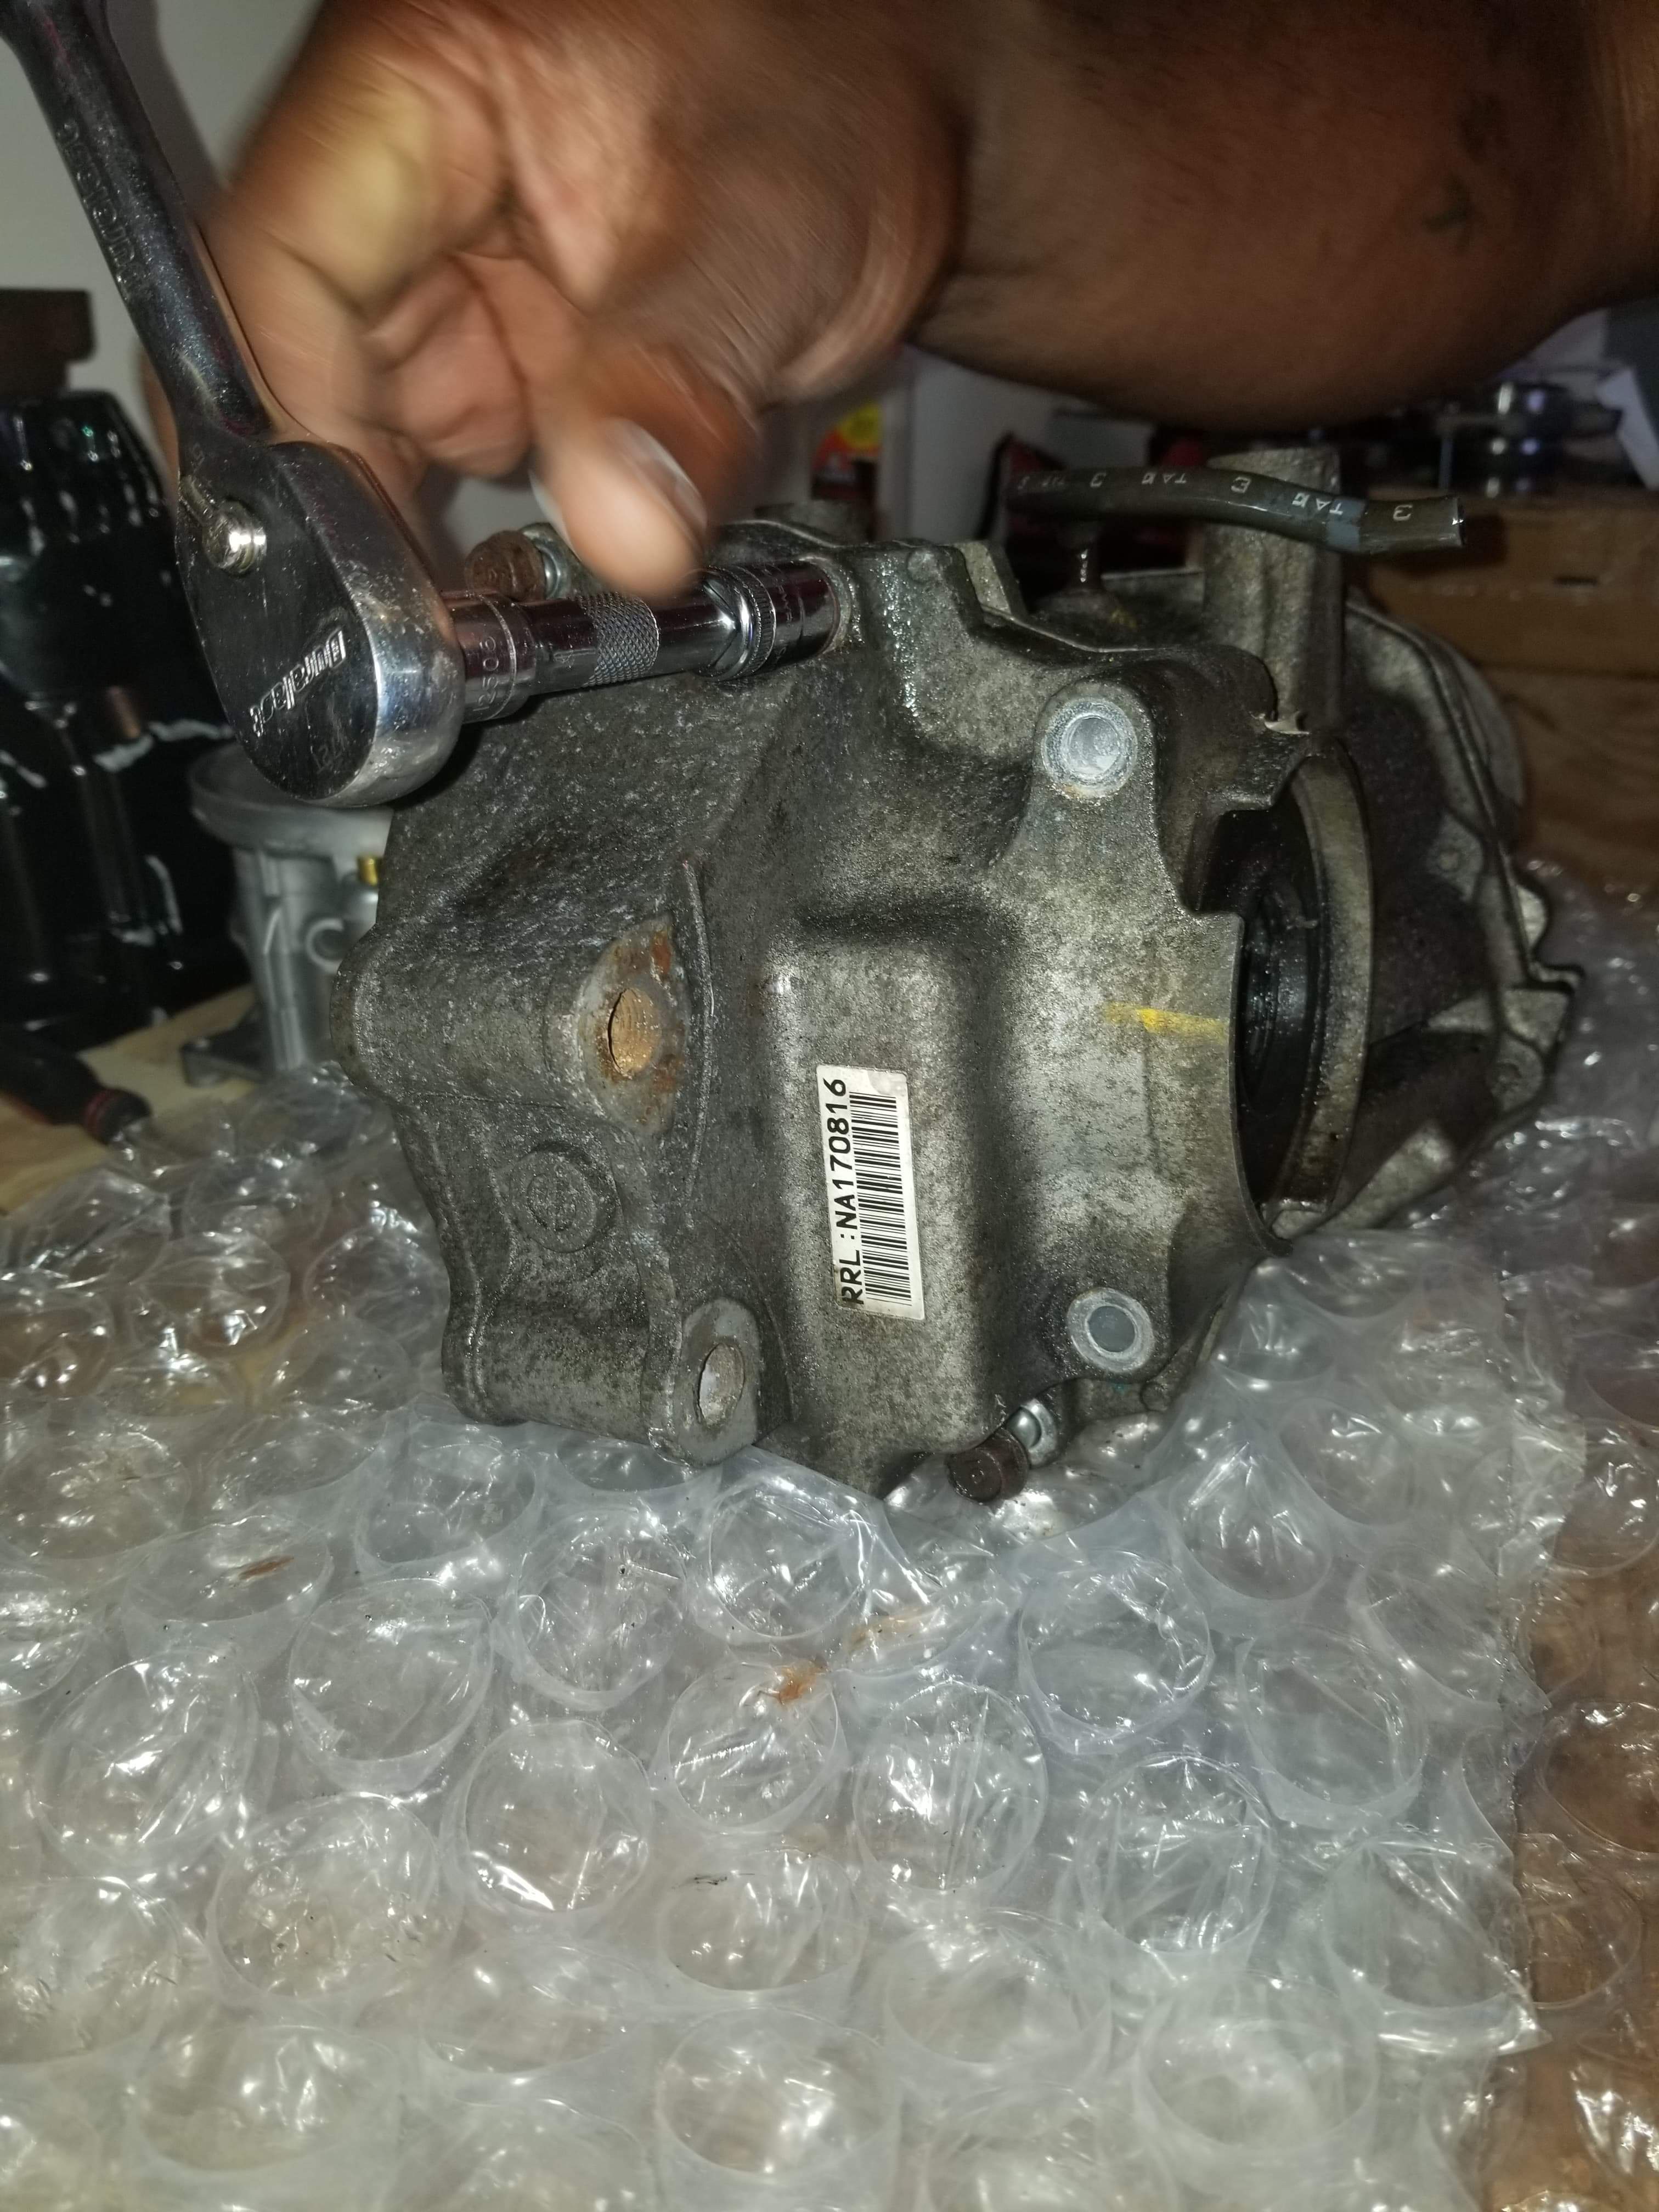
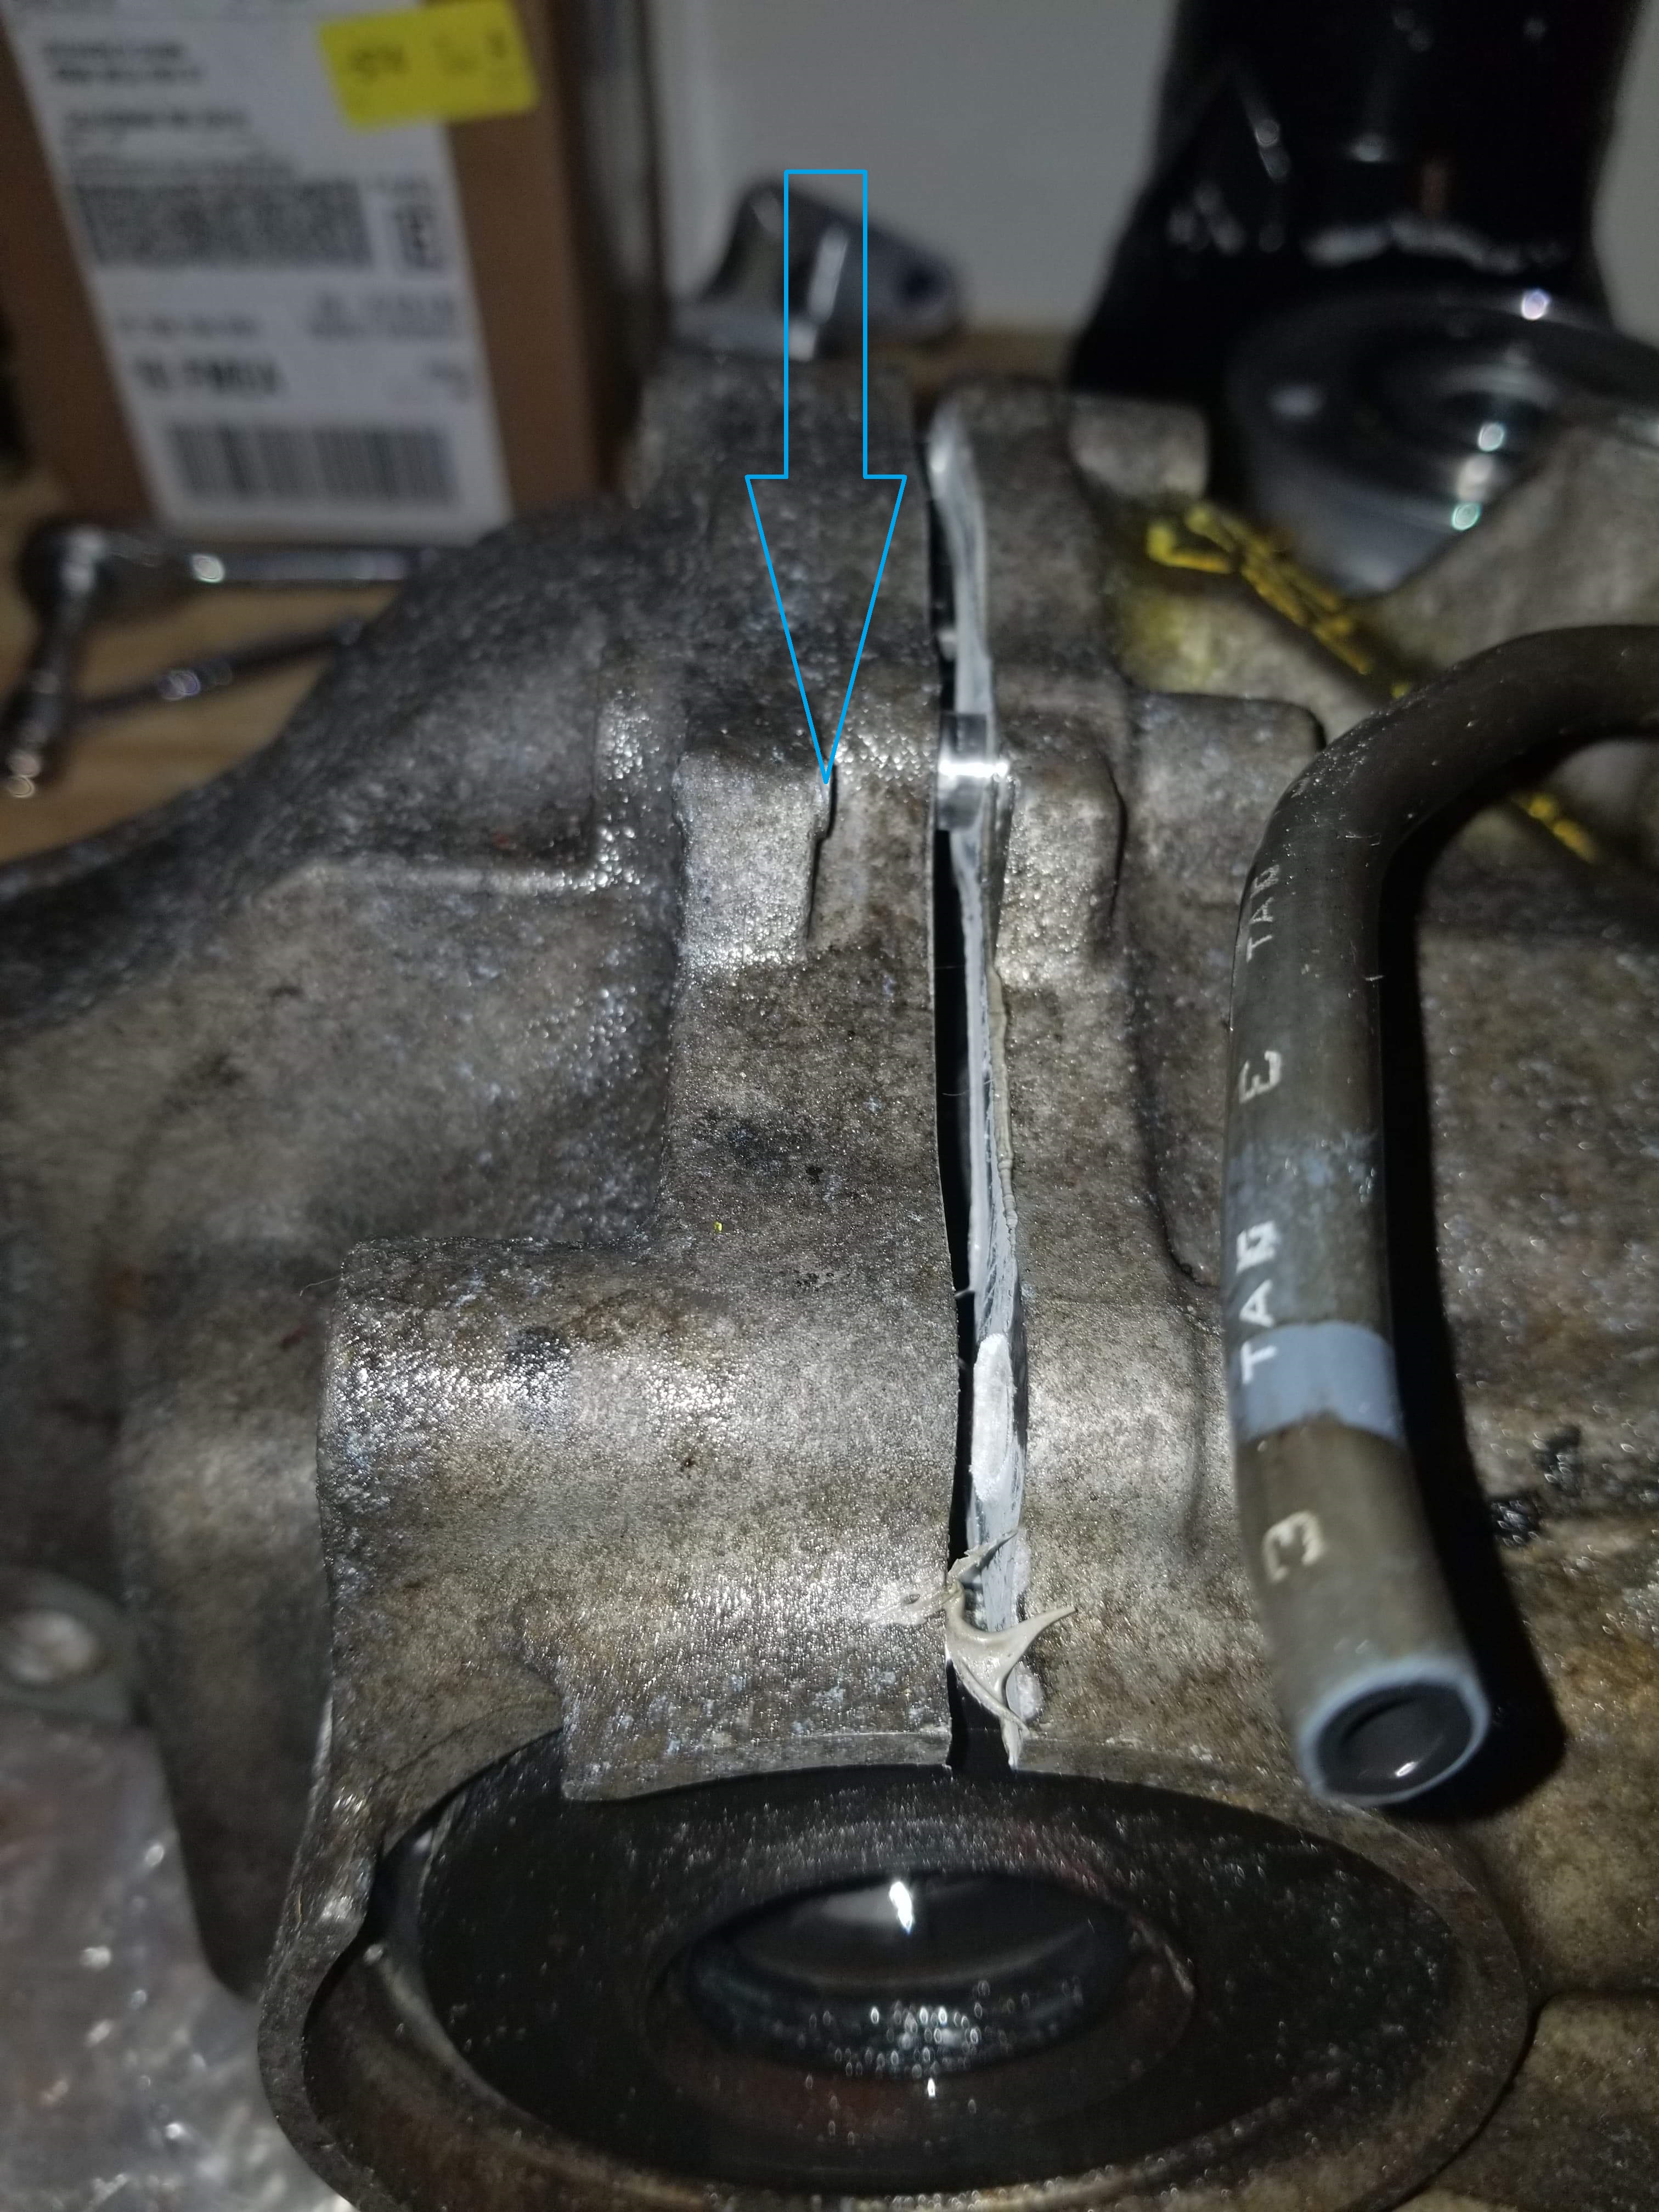
Upper Separation Tabs!
Once the hardware has been removed and stored use your Strait Blade Screw Driver to separate the tail cover from the carrier assembly by prying against the “Separation Tabs” on the top and sides of the differential.
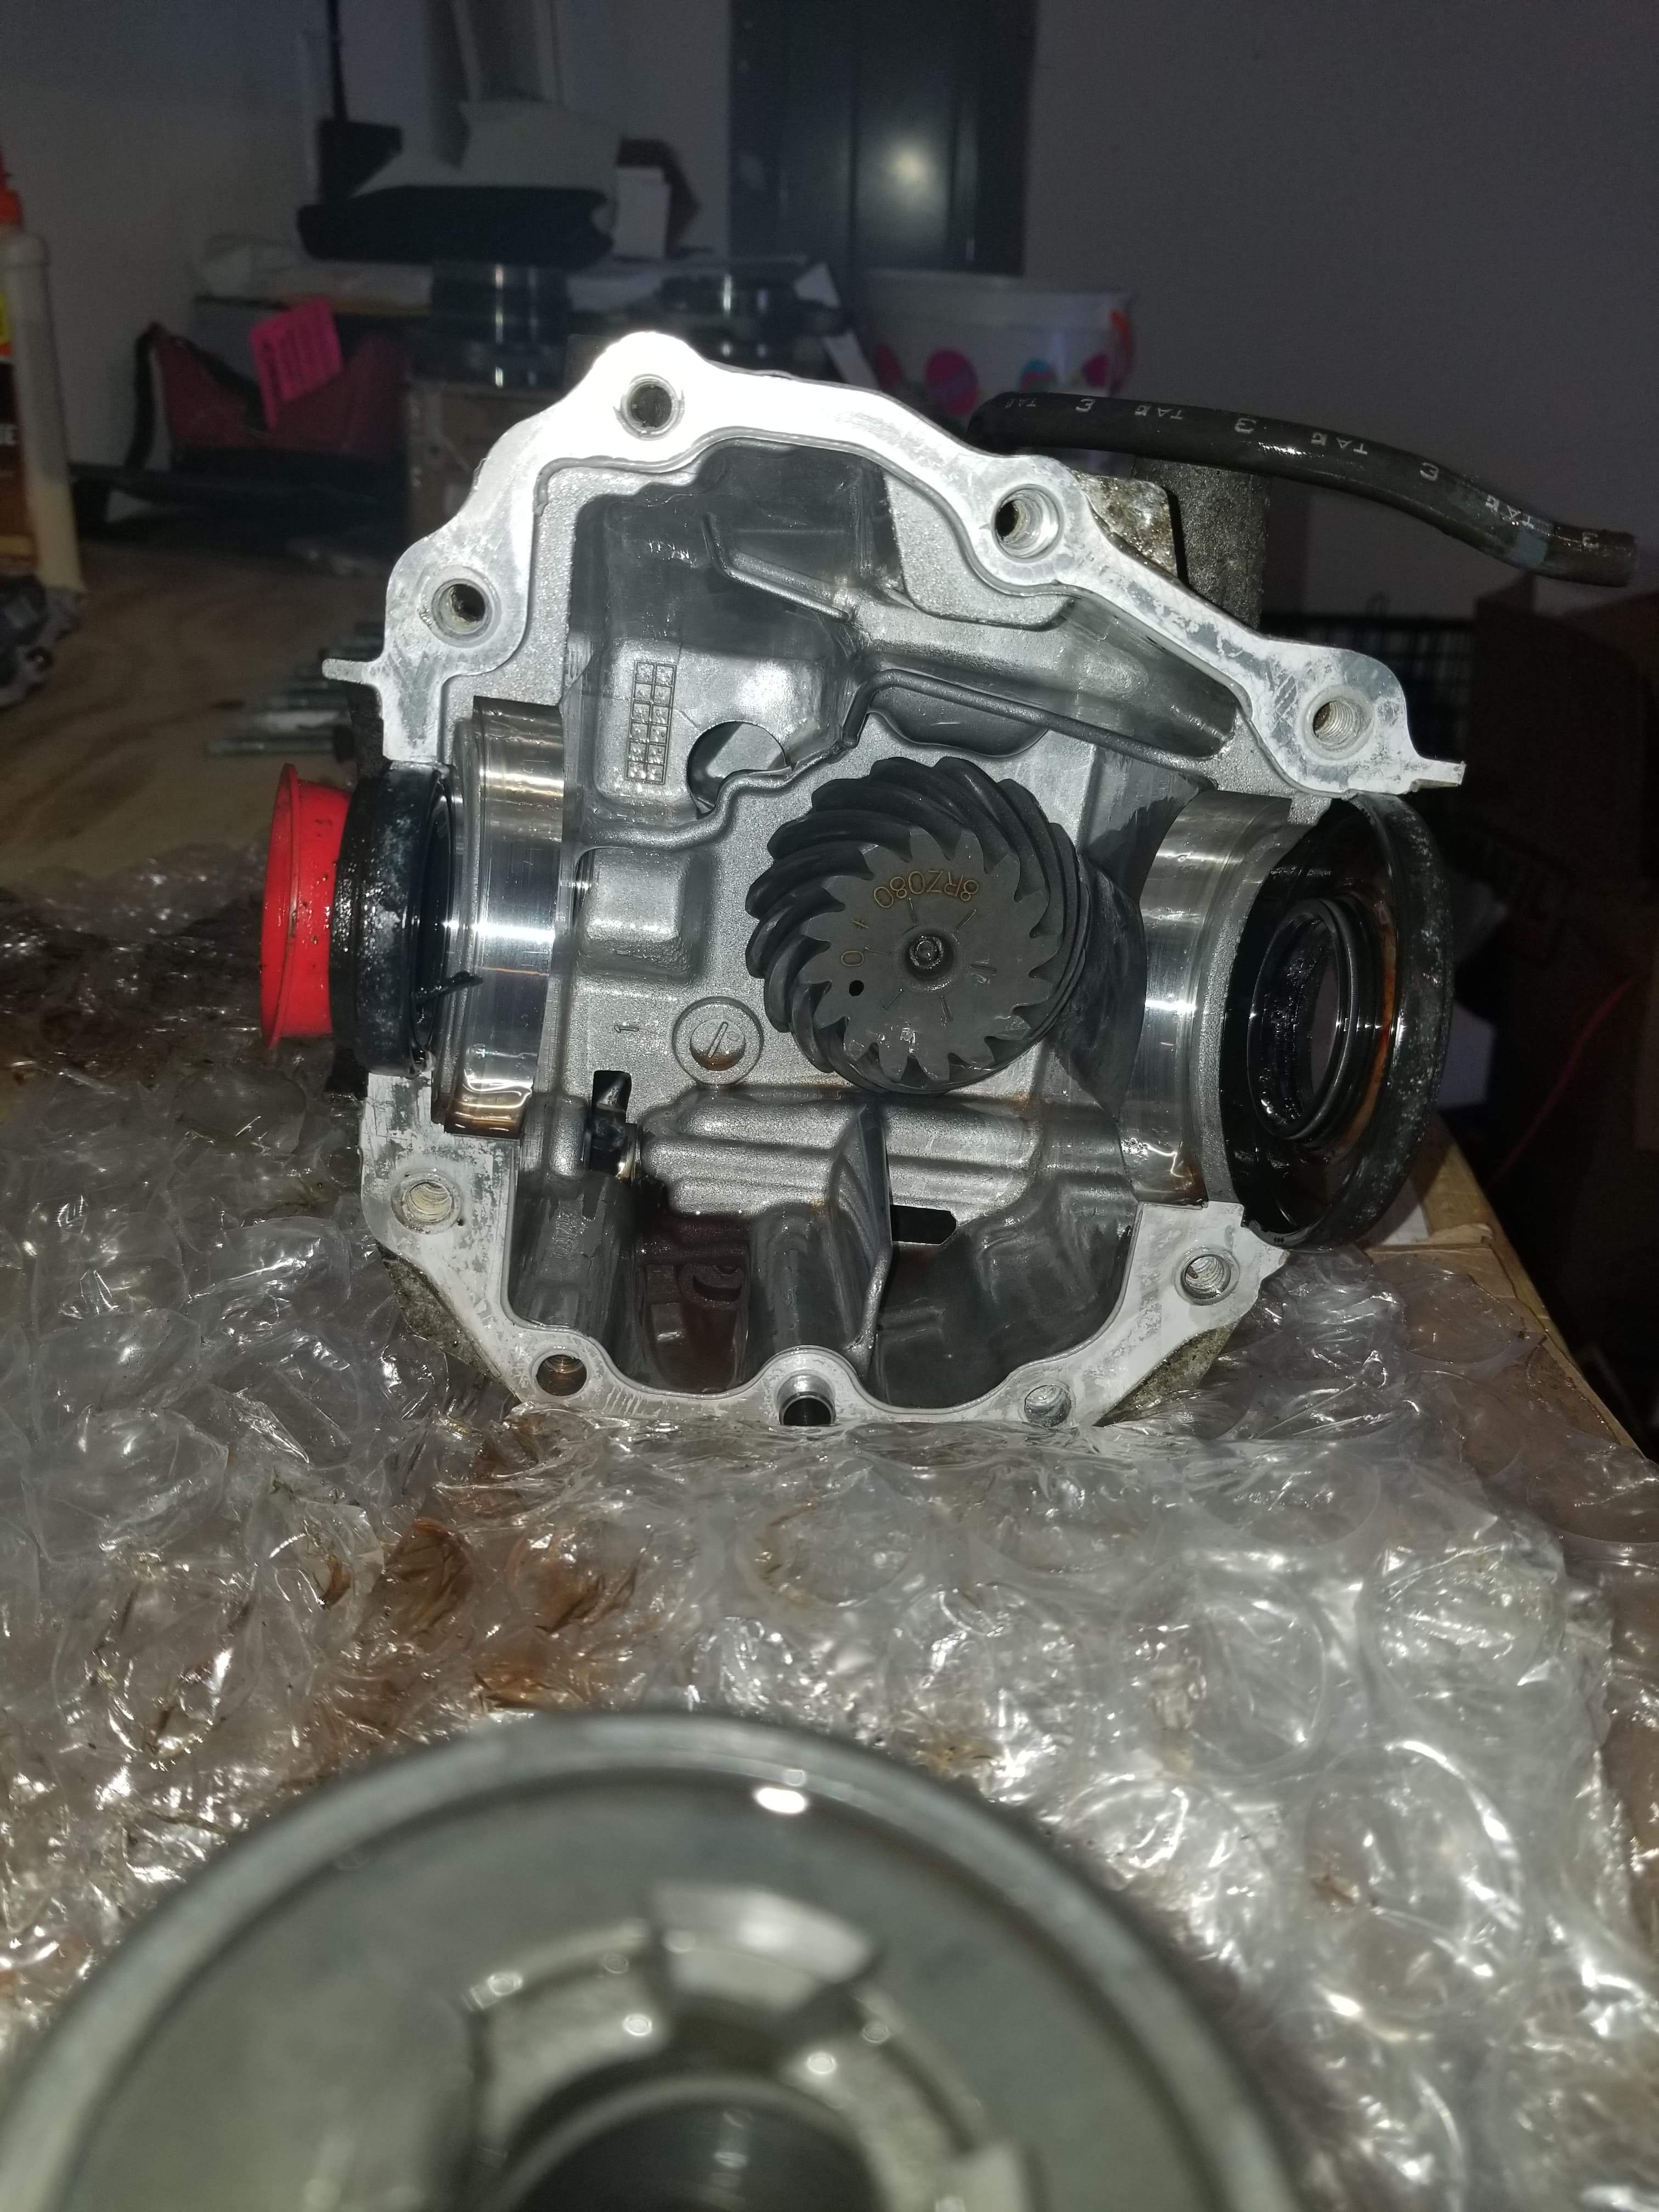
Once the Differential is separated from the Carrier use the 45 degree Scribe to remove the differential Alignment shims from the differential tail cover assembly.
Once removed from the carrier and tail cover place the differential in a safe area laying against the bearing surface not the ring gear for storage. but be sure to remove the .030 Shims from either side of the differential bearings first.
Store the diff cover, hardware and seals in a safe area with your differential.
For this build we will not be utilizing the factory Differential so no need to do anything with it at the moment. Disassembly will continue every day this week. Walk through this process with us while we explain the rebuild process and the amazing performance products we will be installing into it. Thanks for viewing! More coming this week!